Weather science is always a blast for kids of all ages. Pair it with this Rain gauge STEAM activity and you have yourself months full of fun and learning. Weather science creates a whole lot of opportunities for children to explore the world around them through observations, measurements, and comparison. Plus who doesn’t love playing in the rain, making wind wheels, or even measuring the temperature to decide what to wear?
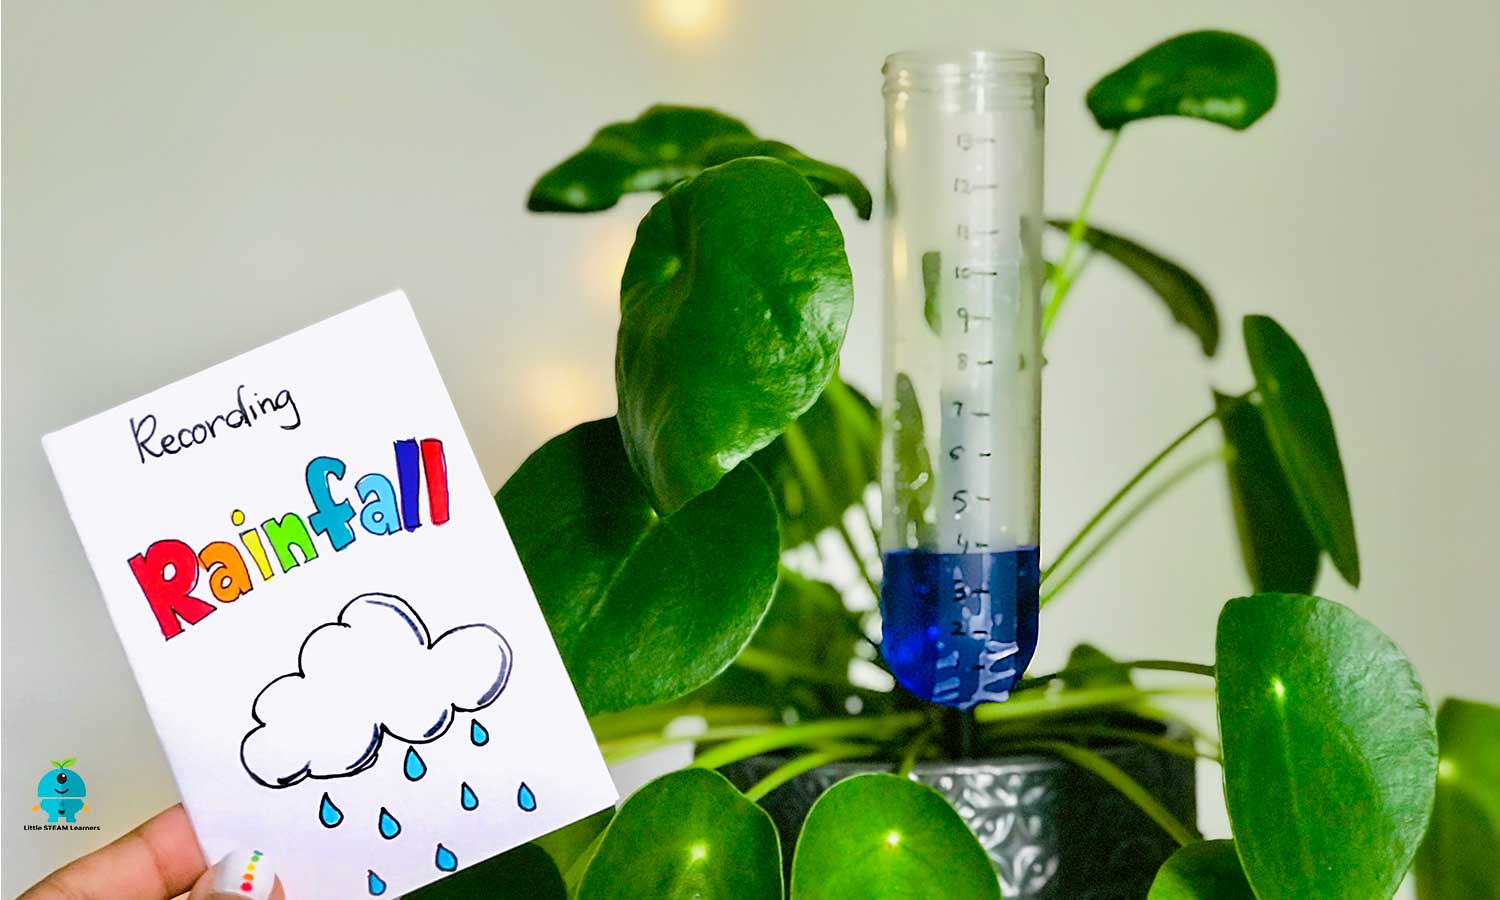
In Norway, the weather can be a bit shifty. Sometimes it snows, sometimes it’s sunny and sometimes it pours. As such, we decided to create something to measure the rainfall a.k.a, a rain gauge using things we had around the house. This rain gauge STEAM activity is perfect for months full of learning, all you need to do is build the rain gauge using simple supplies and record your results over a period of time. And voila! suddenly a simple DIY craft turns into STEAM learning.
Let’s get making!
How to make a rain gauge
What you need:
- Jumbo test tube (a plastic bottle will also work)
- Tape
- Permanent marker
- Pencil or stick
- Ruler
- Paper
How to:
This STEAM activity is easy to put together and is great for learning science and math. With just a few steps you can put it together and start measuring rainfall around your area. For a quick demonstration and instructions, watch the video or follow the steps below.
Step 1: Prepare your collection vessel. We used a jumbo test tube, for that all you need to do is open it up. If you do not have a test tube, you can use any plastic vessel that looks like a tube or use a soda bottle. If you use a soda bottle, cut off the top curved part of the bottle.
Step 2: Time to add a scale. Take a piece of tape and tape it onto the side of the test tube. Using a ruler and permanent marker, mark the centimeters (or inches) on the tape with a permanent marker.
Step 3: Turn your test tube and tape the pencil to the other side of the rain gauge. Make sure to leave enough pencil to stick into the ground.
Step 4: Your rain gauge is now ready for measuring. Take it outside, find an open area and place your rain gauge there.
Step 5: Wait for it to rain.
Step 6: While you are waiting, create a rainfall recording page or book.
Step 7: Every time it rains, make note of the date. After the rain stops, measure the amount of rain in the test tube by reading the scale on the side of the rain gauge.
Note: Remember to empty out your rain gauge after recording the rainfall for that day.
The STEAM behind the fun:
How to measure rainfall?
Rainfall is measured using an instrument called a rain gauge, which is what we made. A rain gauge is usually a cylinder like a test tube or a soda bottle, or it can have a funnel. On the side of the rain gauge, there are usually units of measurement similar to the scale that we created. Some rain gauges are flat and placed on the ground whereas other have a little stake or pointed end so they can be placed into the ground, similar to the one we made above.
The rain gauge collects the rain over a period of time and usually, rain is measured daily.
The interesting part about a rain gauge is that it doesn’t measure the actual volume of how much rain has fallen. Rather we measure the height. That is why we measure in centimeters and the size of the bottle or cylinder did not matter.
A real rain guage actually measures in millimeters because it is more accurate.
Explore further:
- Track patterns of the rainfall. Record them in a book or a chart
- Make multiple rain gauges and place them in different locations. How does location affect the amount of rainfall in the rain gauge?
- Compare your rainfall patterns to those from other cities, countries, or even the estimated rainfall for your city from last year.
- Measure other weather elements like wind speed or temperature and combine it with your results to create a full weather report.
We had tonnes of fun making estimates after a big rainfall and hope you do too. The kids were already creating the hypothesis of how much rain do they think they will collect. Who knew rainfalls could be so exciting. If you give this activity a go, do come back and share your findings and creations with us. Happy measuring!



0 Comments